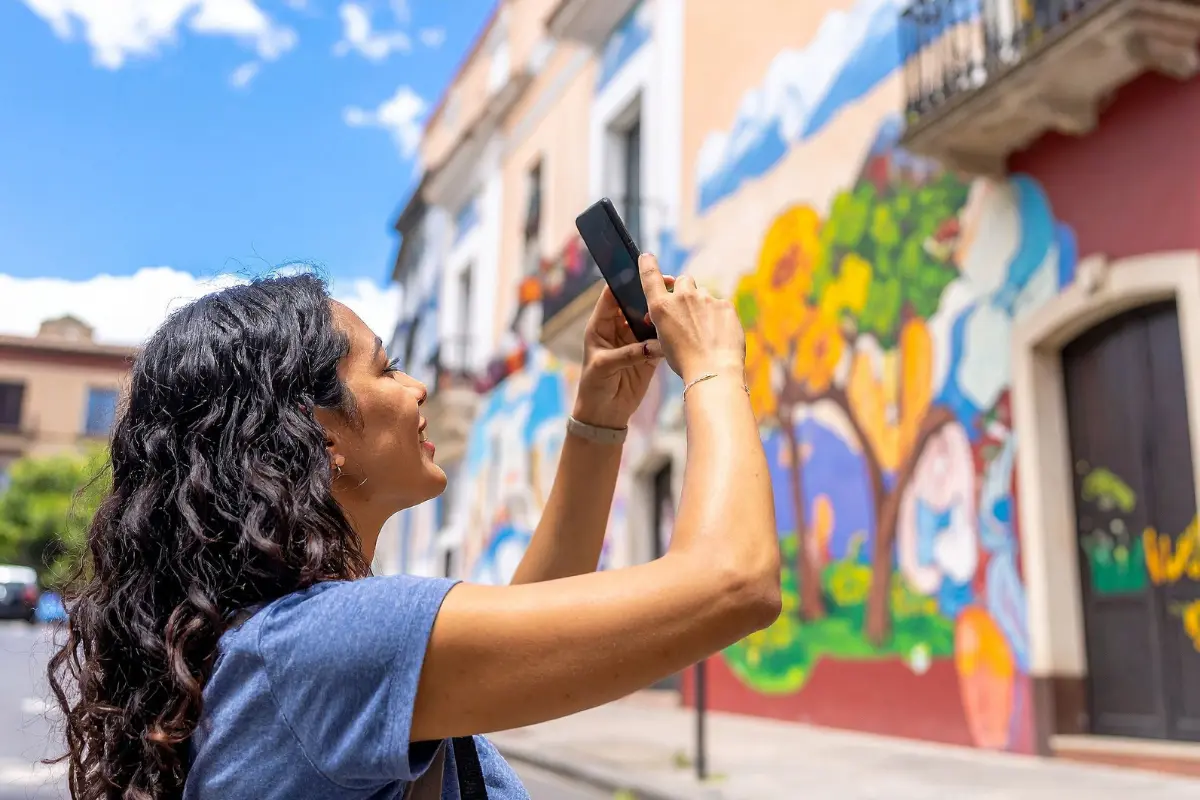
A photo walk is simply a walk taken with the specific purpose of taking photographs. It’s not a quick stroll where you snap a couple of shots; rather, a photo walk invites you to observe your surroundings, discover hidden corners that most people overlook, and see a destination through… fresh eyes.
And the best part? You don’t need an expensive camera—your mobile phone is more than enough.
What exactly is a photo walk?
Think of it as an exploration game. It’s not about getting somewhere quickly. It’s about the journey. Instead of walking around with Google Maps in hand, trying to hit every landmark, you spend an hour or two simply exploring.
Every now and then, stop and observe. Discover—and take photos.
This is how you capture photos with personality that tell a story!
Step 1: Choose a specific area, not the whole city
The most common mistake is thinking you can photograph an entire city in a single day. Spoiler alert: you can’t. Think of it like watching a movie—if you try to rush through it, you’ll miss the small details that make all the difference. The same applies here. Walk slowly, wander into narrow alleyways, stop at a café, and watch what’s happening around you. Often, the most beautiful shot is just a few meters away from a famous landmark.
So, instead of the whole city, pick just one neighborhood.
For example:
- the old town
- the harbor
- a coastal path
- a market
- a pedestrian street
- a village
The smaller the area, the more details you’ll discover!
Step 2: Don’t just chase the famous sights
Often, the best photos are found in a narrow alley, an old window, a colorful door, a bicycle leaning against a wall, or a cat sleeping on the sidewalk.
Try asking yourself a simple question whenever you arrive at an iconic location: “What is here that most people don’t notice?” It might be an antique lamppost, a shadow cast against a stone wall, or a street musician. These details are what give character to your photos and make your vacation album stand out.
Step 3: Give yourself a “mission”
This makes a photo walk incredibly fun. Set a small goal for yourself.
For example, decide to photograph only blue objects for a day! Suddenly, you’ll start noticing blue doors, blue windows, blue boats, blue bicycles… things you might not have seen before!
If you’re in a group, make it even more interesting. Give everyone the same mission, and compare your photos afterward. It’s surprising how each person can see the same place differently—one might focus on objects, another on people, and someone else on architectural details.
Here are a few ideas to get you started:
- Shadows
- Reflections
- Smiles
- Dogs
- Flowers
- Symmetries
- Signs
- Textures
- Windows
- Colors
Step 4: Put the GPS aside
Leave room for spontaneity! If you see an alleyway full of flowers or hear music in a small square, change your route. Often, the most beautiful experiences are unplanned, and that is what makes a photo walk so special.
Step 5: Go early or just before sunset
The light makes a huge difference. At midday, the sun is intense, shadows are harsh, and colors often appear dull.
Conversely, shortly after sunrise or an hour before sunset, the light becomes warm and soft, giving your photos an atmosphere that requires little to no editing.
In addition to better light, streets tend to be quieter at these times. You’ll be able to photograph buildings, squares, or beaches without crowds, and you’ll have more time to experiment with different angles, free from any rush.
Step 6: Don’t just take horizontal photos
Try a little experiment. Find a single subject—for example, a boat or a fountain—and photograph it ten times without changing the subject itself. Simply change your own position. You’ll see that some photos look completely different, even though they capture the exact same object.
Try different angles.
- Crouch down.
- Step up onto something.
- Shoot from a low angle, looking upward.
- Get very close.
- Move far away.
The same scene can look entirely different depending on where you’re standing!
Step 7: Don’t forget the people
Cities are more than just buildings. They are people: a street musician, a fisherman, a street vendor, a group of people laughing.
These moments convey emotion and bring your photos to life. If you are going to photograph someone up close, always respect their privacy and, if necessary, ask for their permission.
Step 8: Don’t spend the whole time staring at your screen
This is perhaps the most important point. Don’t walk around with your phone held up the entire time.
Look first. Then observe. And only when you see something truly worthwhile—take a picture!
The best images are born from curiosity, not from the camera shutter button.
A photo walk is not a competition. You don’t need professional equipment or perfect photography skills. All you need is a bit of curiosity and a willingness to slow down.
Because, at the end of the day, the most beautiful photos aren’t always the ones with the perfect composition or the most impressive filter. They are the ones that remind you how you felt in that moment. And a photo walk helps you do exactly that: experience your destination more mindfully and return with images that tell a story—your own.
HobbyDetective Spain is currently building its community and catalog of experiences. In the meantime, use these ideas to explore local options, and be sure to confirm the latest details directly with each organizer.
Your first step in Spain
Look for an introductory session at workshops or cultural centers in your municipality. Compare the techniques being taught, the materials included, the group size, and whether you will be able to complete your piece during the class. To practice at home, start with a small project and purchase only the materials you need; check the manufacturer’s instructions, and ensure proper ventilation and the use of appropriate protective gear for each product.
Original article: 2026-07-21. Edition adapted for Spain: 27 October 2026. Read the Greek original. Original author: Eleni Agiou.