Bookbinding: What is it?
Have you ever bought a notebook because you loved the cover so much that you almost didn’t want to write inside it? With bookbinding, you can take it a step further: create your own notebook from scratch.
Bookbinding is the process of joining the pages of a book or notebook together and attaching a cover. And no, you don’t need a professional bookbinding workshop or to be an expert.
With a few basic materials, a bit of patience, and a design you love, you can create a notebook exactly the way you want it—from the size and paper type to the cover and binding style.
And the best part? The result doesn’t have to be perfect. What matters is that it looks handmade.
How is bookbinding done?
The process depends on the binding technique you choose, but the basic logic is quite simple:
- Choose the paper you want for the pages.
- Cut it to the right size and fold it.
- Create the stitching points on the pages.
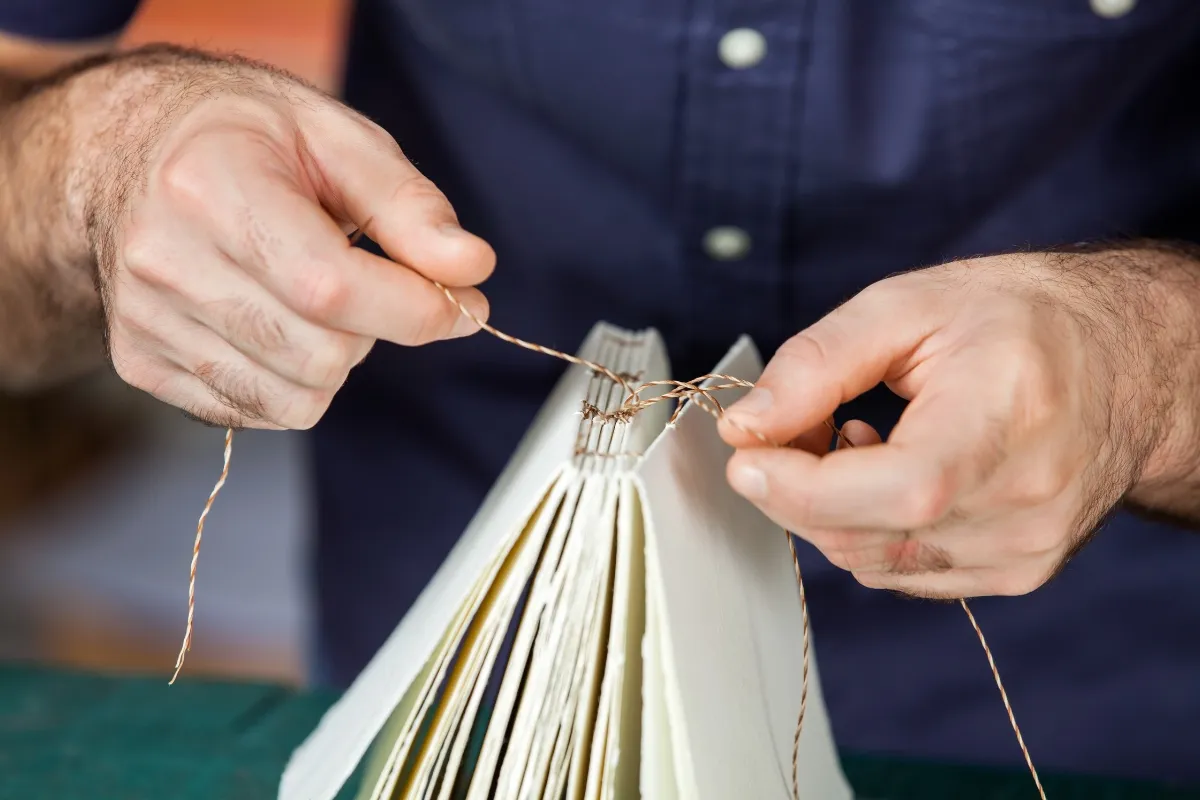
- Sew the pages together using thread.
- Prepare the cover.
- Attach the cover to the pages.
- Make any final adjustments, and… there you have it—your very own notebook!
The process might seem a bit complicated at first, but once you understand how your chosen technique works, it becomes much easier.
What do I need to get started with bookbinding?
You don’t need a full workshop to make a simple, handmade notebook. The basic items are:
- Paper for the pages
- Cardstock or cardboard for the cover
- Bookbinding thread
- Needle
- Glue
- Craft knife or scissors
- Ruler
- Pencil
- Cutting surface
- Bookbinding awl for making holes
If you want a more polished result, you can gradually add specialized bookbinding tools to your collection. However, for your first project, you don’t need to buy everything.
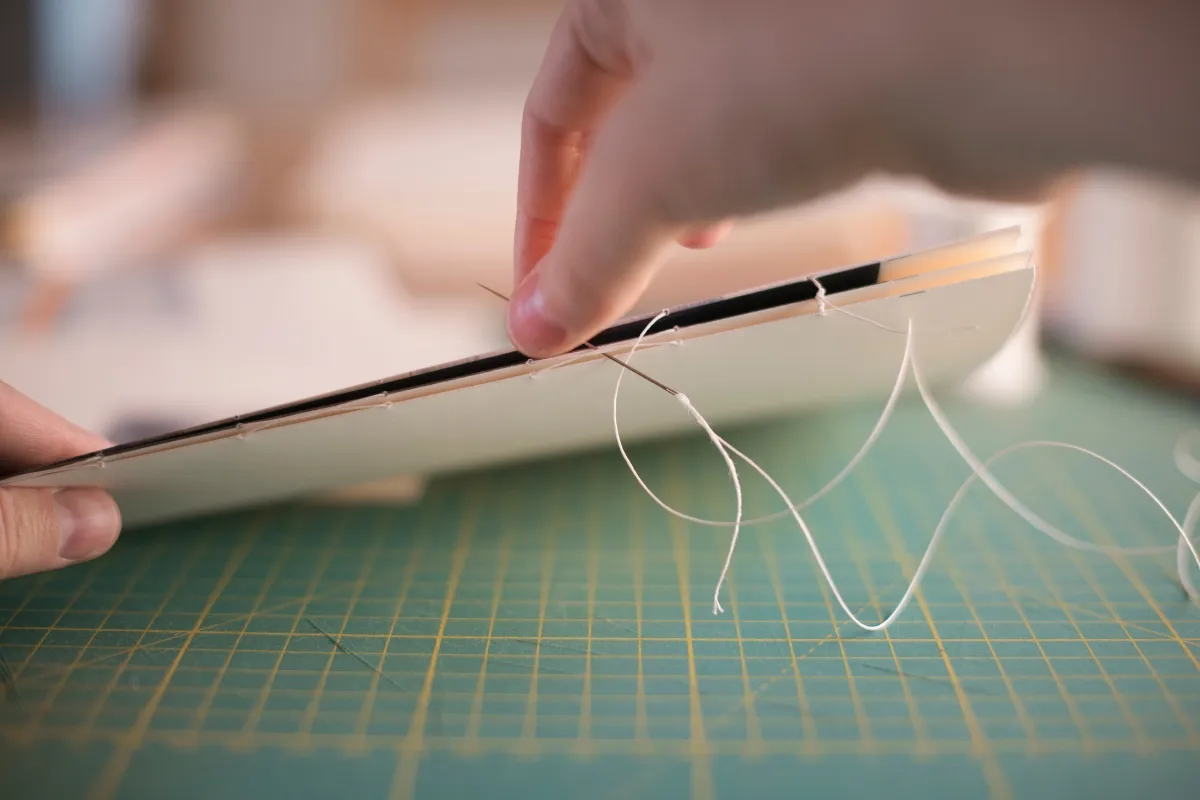
Which bookbinding technique should you try first?
This is where it gets interesting, as there are many different bookbinding techniques.
Japanese binding
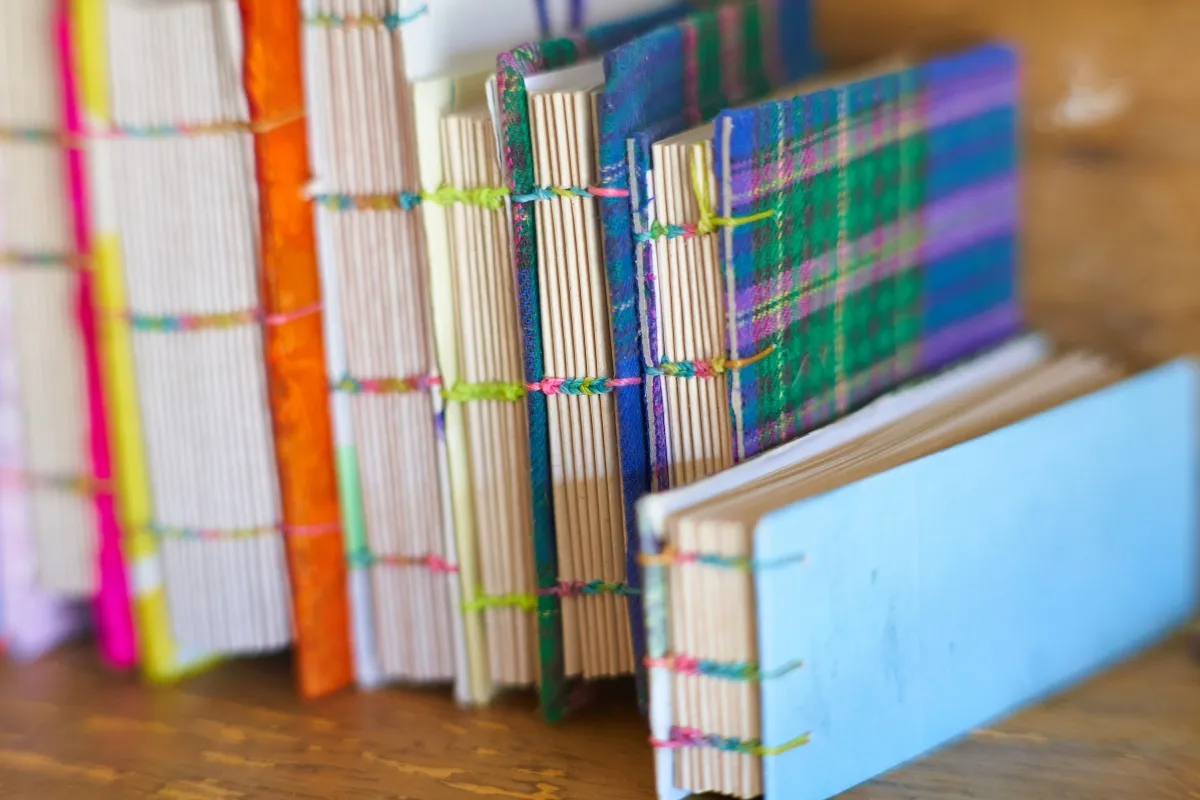
Japanese binding is one of the most beautiful options for beginners, especially if you want a notebook with a truly artisanal look. The pages and cover are joined together with a visible stitch on the outside. This means the thread isn’t hidden; instead, it becomes part of the design. You can also experiment with different colors of thread and paper.
Pamphlet stitch
If you want something even simpler, the pamphlet stitch is a great starting point. It is a basic technique in which folded sheets are joined together with a few stitches. It’s perfect for a small notebook, a journal, or a sketchbook.
How to make your first handmade notebook
For your first project, start with something simple. You don’t need to make a 300-page book.
1. Choose the size
Start with a small or medium-sized notebook. A5 is a practical choice; it offers enough space for writing without being cumbersome.
2. Prepare the pages
Cut the paper to your desired dimensions and fold it in half. If you are using many sheets, you can create small groups of folded pages, known as signatures.
3. Mark the stitching points
Using a ruler and a pencil, mark where the holes will be made. This requires some care: the distances should be as uniform as possible. If the first hole is placed “somewhere around here” and the second one “somewhere over there,” the notebook might end up looking quite uneven—not exactly what you had planned!
4. Punch the holes
Use a bookbinding awl to punch holes through the paper and the cover. Essentially, it is a thin, pointed metal pin with a handle, specifically designed to create clean holes in paper, cardstock, or other bookbinding materials.
5. Sewing the pages
Thread your needle, following the pattern for your chosen technique. This is where bookbinding becomes truly rewarding. Little by little, a stack of paper begins to look like a booklet.
6. Adding the cover
You can use plain cardstock, patterned paper, or fabric—or even design the cover yourself. This is the point where a simple notebook becomes your notebook.
Which paper is best for bookbinding?
For your first project, choose paper that is neither too thin nor too thick.
If you want the notebook for:
- Writing: choose paper suitable for pens or pencils.
- Drawing: opt for thicker paper.
- Markers: you will need even thicker paper, depending on the type of marker.
- Mixed media: look for paper that can withstand a variety of materials.
A quick tip: before completing the entire notebook, test the paper first with the pen or material you intend to use. Finishing 50 pages only to discover that the ink bleeds through to the other side is a small, yet very disappointing, letdown!
Ideas for your first bookbinding project
Your first project doesn’t have to be a “standard” book.
You could make:
- a small personal notebook
- a sketchbook
- a travel journal
- a personal diary
- a nature journal
- a small booklet for notes or appointments
- a handmade notebook to give as a gift
And, of course, you can experiment with different papers, thread colors, and covers to make each notebook unique.
Is bookbinding difficult for beginners?
No—just start with a simple technique and a small project.
The trickiest part at first is getting used to the measurements, the holes, and the stitching. However, after one or two projects, you’ll get the hang of it. And as with many crafts, your first notebook might not be as perfect as the ones you see on Pinterest. The second one will be better—and the third, even better!
Frequently Asked Questions About Bookbinding
What is bookbinding?
Bookbinding is the process of joining the pages of a book or notebook together and creating its cover. It can be done using various stitching and binding techniques.
Can I do bookbinding if I’m a beginner?
Absolutely. Start with a small notebook and a simple technique, such as pamphlet stitching or basic Japanese-style binding. You don’t need prior experience to get started.
What do I need to make a handmade notebook?
Paper, cardstock for the cover, thread, a needle, glue, a ruler, a pencil, and tools for cutting and punching holes. The specific materials depend on the technique you choose.
Which bookbinding technique is the easiest for beginners?
Simple techniques like pamphlet stitching are a great starting point. Japanese-style binding is also popular for DIY projects, as the process is relatively inexpensive and the exposed stitching creates a beautiful result.
Can I use any type of paper?
You can experiment with many types of paper, but it’s best to choose based on how you intend to use the notebook. For example, a sketchbook requires different paper than a notebook intended for writing.
Can I do bookbinding without specialized tools?
Yes—especially for a simple first project, you can get started using basic craft tools. If you continue with this hobby, it is worth gradually investing in specialized bookbinding tools.
How long does it take to make a handmade notebook?
It depends on the size, the number of pages, and the technique used. A small, simple notebook can be finished quite quickly, while more complex bindings require more time and attention.
Where can I learn bookbinding?
HobbyDetective Spain is currently developing its community and catalog of experiences. In the meantime, use these ideas to explore local options, and be sure to verify the most up-to-date information directly with each organizer.
Your first step in Spain
Look for an introductory session at workshops or cultural centers in your municipality. Compare the techniques being taught, the materials included, the group size, and whether you will be able to complete your piece during the class. To practice at home, start with a small project and purchase only the materials you need; always check the manufacturer’s instructions, and ensure you have proper ventilation and the necessary protective gear for each product.
Original article: 2026-10-09. Edition adapted for Spain: 27 October 2026. Read the Greek original. Original author: Eleni Agiou.