What is resin art?
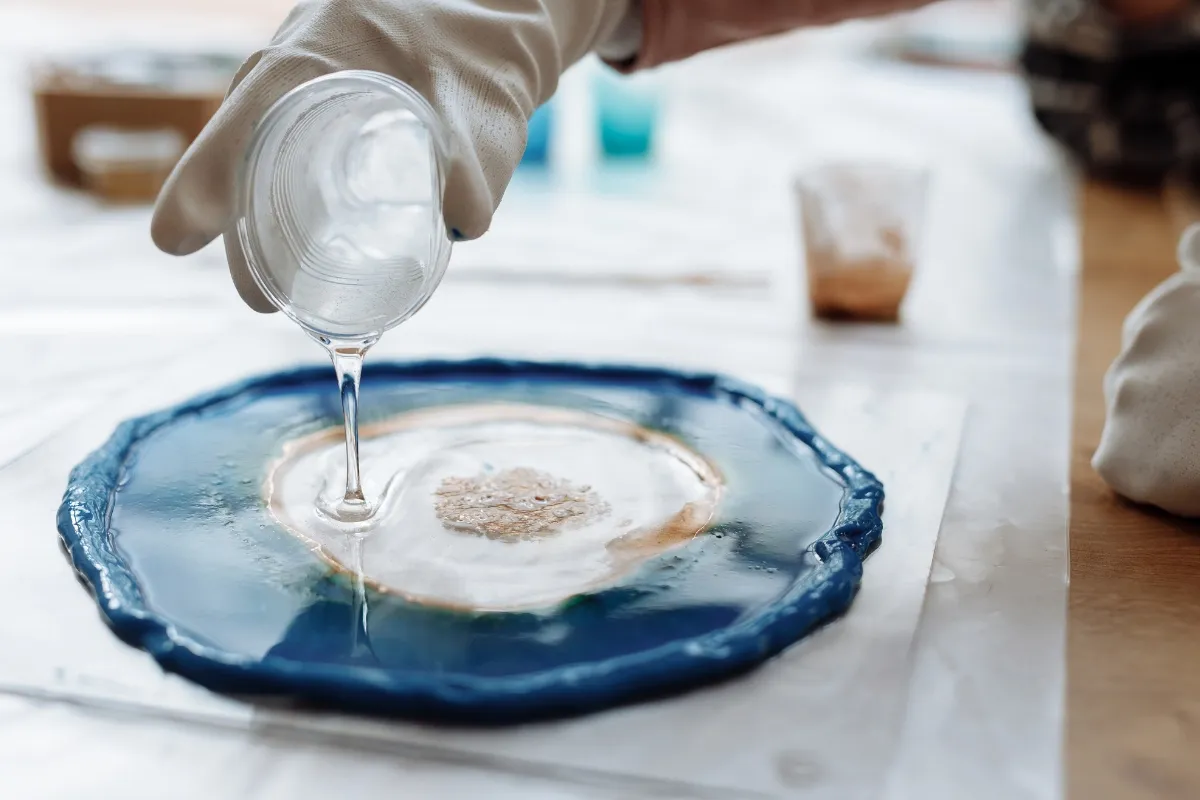
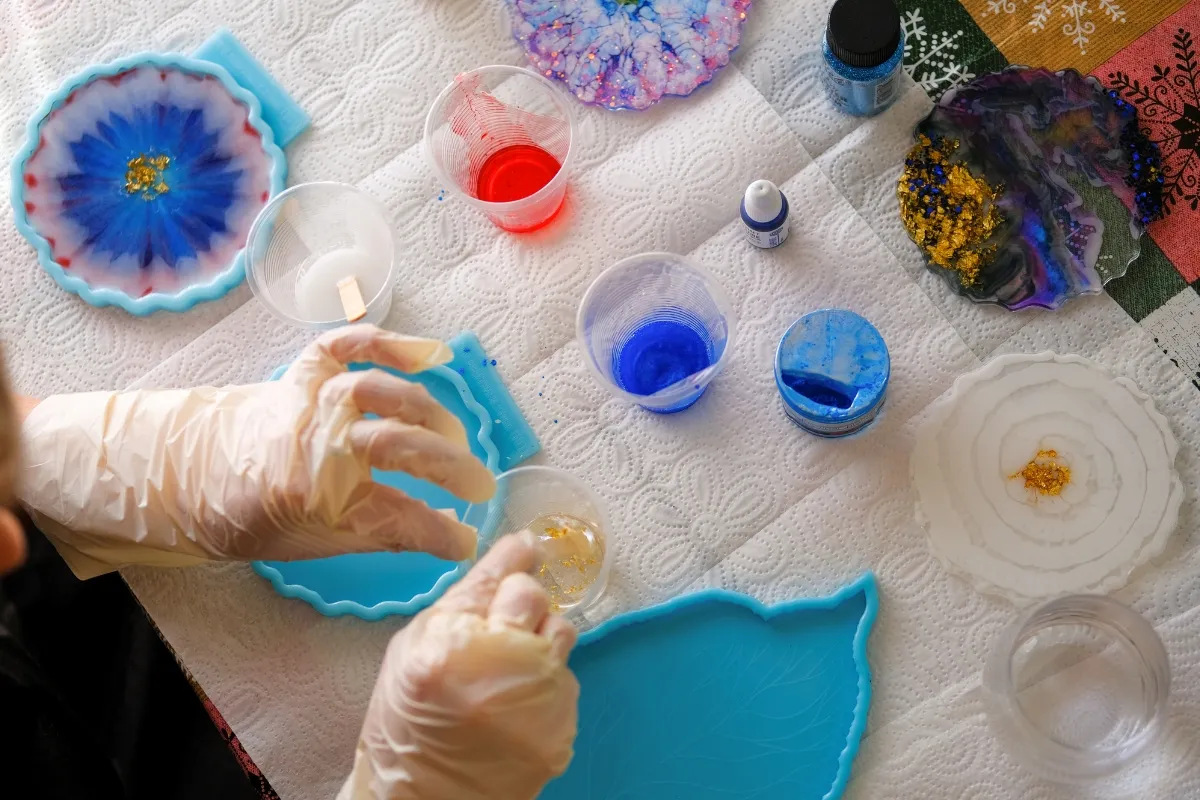
If you have seen transparent jewelry containing flowers, coasters that look like miniature works of art, or objects with striking colors and a water-like effect, it is very likely that you are looking at resin art. Resin art is a technique for creating decorative and artistic objects using resin—typically epoxy. The liquid resin is mixed with colors, pigments, glitter, or other suitable decorative elements and left to harden, resulting in a smooth, often glossy surface.
And that is what makes resin so interesting: you start with a liquid material and end up with something that looks completely different.
What can I create with resin art?
With resin, you can create:
- jewelry
- decorative objects
- keychains
- small works of art
- coasters
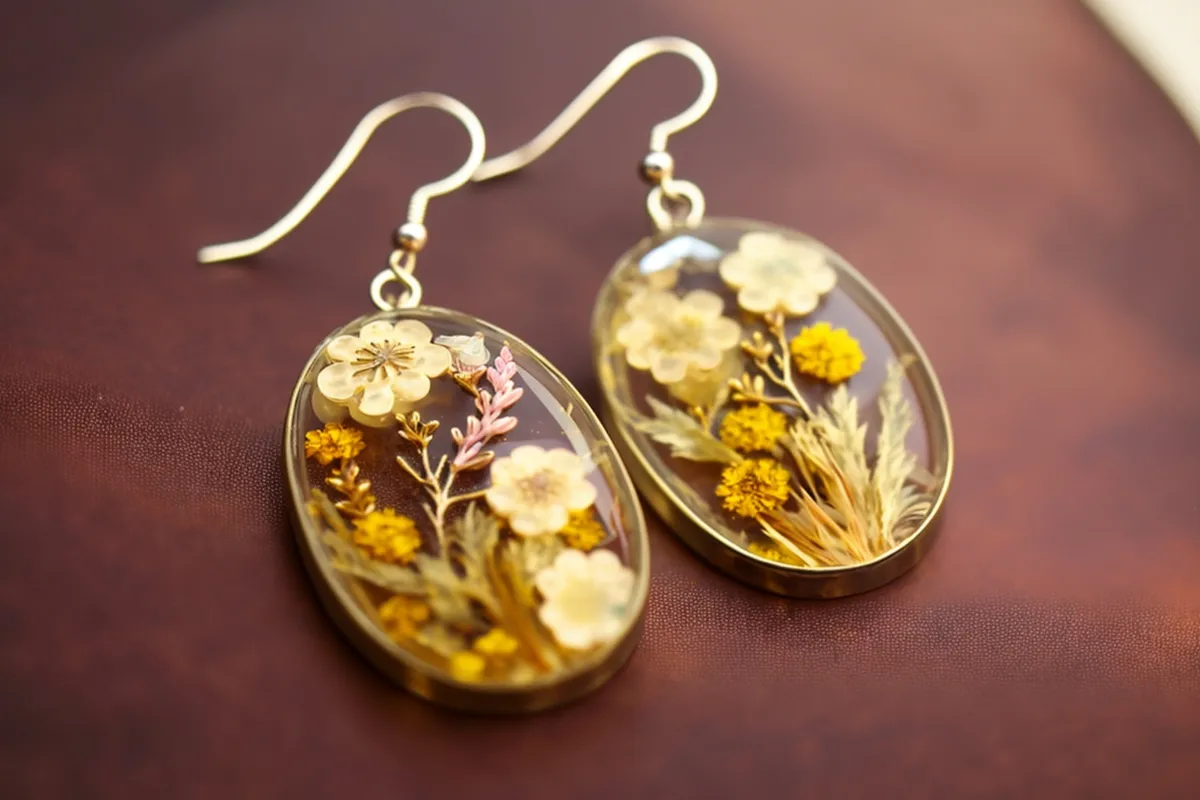
- decorations featuring dried flowers
- items with glitter and pigments
- personalized charms
- small trays and decorative surfaces
And the best part? You don’t need to decide in advance what “kind of artist” you are. You can start by experimenting with colors and textures and see what results you get.
How does epoxy resin work?
Epoxy resin typically consists of two components: the resin and the hardener. When mixed in the correct ratio, a chemical reaction begins that gradually transforms the liquid mixture into a hard material. And this is one of the most important points for a beginner: the mixing ratios and the instructions for the specific product are crucial.
What do I need to start creating with resin?
You don’t need to buy 25 different pigments or set up an entire laboratory. For your first project, you generally need:
Epoxy resin
The basic materials for your project. To get started, look for a resin suitable for crafts/resin art and follow the manufacturer’s instructions precisely.
Pigments or colors
This is where the fun begins. You can use pigments and dyes suitable for resin to create various effects and shades.
Gloves and protective equipment
Safety is paramount—even before you achieve Pinterest-worthy results. Epoxy resin requires proper ventilation and skin protection; always follow the product’s safety instructions.
Mixing cups and tools
Used for properly blending the two components and adding colors.
Silicone molds
If you want to create small objects, silicone molds are among the most useful tools. They come in countless designs: from simple geometric shapes to flowers, letters, and jewelry.
Decorative elements
You can add glitter, flakes, dried flowers, and other suitable items to the resin to achieve different effects.
How to create your first resin project
For your first project, I suggest something small and simple, such as a coaster, a keychain, or a small ornament.
Step 1: Prepare your space
Cover your work surface and ensure the area is well-ventilated.
Step 2: Measure the ingredients
Follow the exact proportions specified by the manufacturer of the resin you are using.
Step 3: Mix thoroughly
Proper mixing is essential for the resin to cure correctly.
Step 4: Add color
Now you can start experimenting. Try using a single color for a minimalist look, or combine two or three for a more striking result.
Step 5: Add decorative elements
If you wish, you can add glitter, flakes, or dried flowers.
Step 6: Pour the resin into the mold.
Do this slowly and carefully. Don’t try to fill the mold in record time.
Step 7: Wait.
This also requires a bit of self-control. Don’t touch it every ten minutes to check if it’s dry. Curing time depends on the product, the thickness, and environmental conditions, so follow the specific instructions for your resin.
Step 8: Remove the piece from the mold.
Once it has hardened completely, you can carefully remove it from the mold and see the final result.
What can go wrong with resin art?
Several things can happen. This is perfectly normal when you’re starting out, so don’t worry!
Bubbles
Small bubbles may appear when mixing or pouring the resin.
Sticky surface
If the resin hasn’t been mixed correctly or the proper procedure hasn’t been followed, it may not harden properly.
Dust on the surface
A bit of dust settling on your project can leave a mark.
Paint that doesn’t behave as expected
Pigments and dyes can create different effects depending on the material and the amount you use.
In short: your first project doesn’t have to be perfect. Resin art is largely about experimentation.
5 ideas for your first resin art project
If you don’t know where to start, here are a few options for beginners:
Pressed-flower coasters
Transparent coasters featuring dried flowers.
Glitter keychain
A small project for experimenting with color and glitter.
Ocean-inspired coasters
Shades of blue and white to create a wave effect.
Resin jewelry
Small earrings or pendants incorporating color or decorative elements.
Abstract resin art
No specific design—just let the colors do the work.
Is resin art difficult for beginners?
The basic steps aren’t particularly difficult, but achieving consistent results requires attention to the process and practice.
Your first project might end up with bubbles, the color might turn out differently than you imagined, or the finish might not be as smooth as you expected. That’s all part of the process.
The great thing about resin art is that you can start with very small projects, so you don’t have to invest in a large-scale project right away.
Can you learn resin art in a workshop?
If you prefer to learn the technique by observing the process up close, a workshop can be an excellent way to get started. You will have the opportunity to get familiar with the materials, see how they are mixed and poured, and create your first object without having to purchase all the equipment right from the start.
HobbyDetective Spain is currently building its community and catalog of experiences. In the meantime, use these ideas to explore local options and verify the latest information directly with each organizer.
Frequently Asked Questions About Resin Art
What is resin art?
Resin art is a technique for creating decorative and artistic objects using resin—typically epoxy. The resin can be colored and combined with various decorative elements to achieve different colors, textures, and effects.
What do I need to get started with resin art?
For a basic project, you will need: suitable epoxy resin, resin dyes or pigments, a silicone mold, mixing containers and tools, gloves, and the necessary protective equipment. You can also incorporate items like glitter, flakes, dried flowers, or other suitable decorative elements.
Is resin art difficult for beginners?
No, you can learn the basics even without prior experience. However, you must pay close attention to mixing ratios, the blending process, curing times, and the product’s safety instructions. Starting with a small project is the best approach.
How long does it take for resin to dry?
Curing time varies depending on the specific product, the thickness of the project, and the environmental conditions. To determine the exact time, you should follow the instructions provided by the manufacturer of the resin you are using.
Can I include flowers in resin?
Yes, dried flowers can be used in many resin art projects. However, they must be completely dry, as any moisture can affect the final result.
Can I make jewelry with resin?
Yes. Resin is used to create various types of jewelry, such as earrings, pendants, and rings, using molds or special bases.
Is it safe to work with epoxy resin at home?
Working with epoxy resin requires caution. Ensure good ventilation, use appropriate gloves and personal protective equipment, and always follow the safety and usage instructions for the specific product. It is not a material intended for use in large quantities on your kitchen table.
Where can I learn resin art?
You can learn through online tutorials, books, and guides, or by joining a resin art workshop for beginners. A workshop is especially helpful if you want to see the process up close and create your first project with guidance.
Your first step in Spain
Look for an introductory session at workshops or cultural centers in your local area. Compare the techniques being taught, the materials included, the group size, and whether you will be able to complete your piece during the class. To practice at home, start with a small project and purchase only the materials you need; always check the manufacturer’s instructions, and ensure you have proper ventilation and the right protective gear for each product.
Original article: 2026-10-07. Edition adapted for Spain: 27 October 2026. Read the Greek original. Original author: Eleni Agiou.