Imagine waking up in the morning, stepping out onto your balcony, and picking fresh mint for your tea or basil for your favorite pasta dish. Growing herbs on your balcony is not only enjoyable and relaxing, but it also adds a touch of freshness to your daily life. Let’s look at how you can create your own herb garden—even if you live right in the heart of the city.
Why grow herbs on your balcony?
- Freshness and flavor: Fresh herbs enhance the flavor of your meals and are more aromatic than dried ones.
- Savings: Instead of buying herbs at the supermarket, you can have your own available at any time.
- Decoration: Herbs add greenery and vitality to your balcony, making it more inviting.
- Well-being: Gardening reduces stress and improves your mood.
What You’ll Need
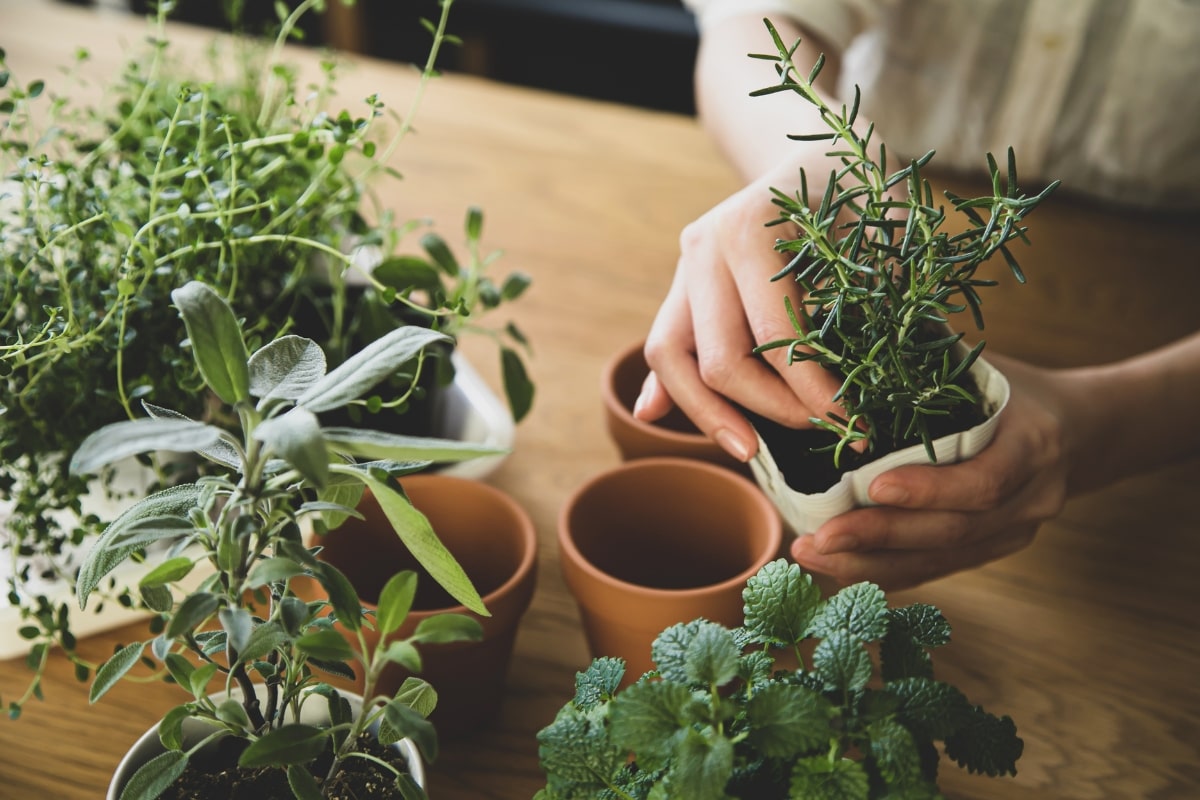
- Pots and planters: Choose pots with good drainage. Terracotta pots are ideal, but plastic ones work well too.
- Quality potting mix: Use a high-quality potting mix, enriched with organic matter, to ensure your plants grow healthily.
- Seeds or seedlings: You can start with seeds or already-developed seedlings. Pre-grown plants offer a quicker solution, while seeds provide the satisfaction of growing something from scratch.
- Watering can with a fine spout: For watering plants without damaging the leaves or the soil.
- Fertilizer: An organic fertilizer will help your plants grow.
Choosing Herbs
Some herbs are ideal for growing in pots:
- Basil: It loves the sun and requires regular watering. It’s perfect for sauces and salads.
- Mint: It grows quickly and adds a fresh touch to drinks and dishes. Be careful—it can spread extensively, so it’s a good idea to plant it in a separate pot.
- Parsley: Hardy and easy to grow. Used in many recipes.
- Rosemary: Loves the sun and requires little watering. Ideal for meat and potatoes.
- Thyme: Aromatic and hardy; a great addition to many Mediterranean recipes.
- Oregano: Essential in Greek cuisine; it is hardy and easy to grow.
Steps to create your garden
- Choosing a location: Find a spot on your balcony that receives enough sunlight—at least 4 to 6 hours a day.
- Preparing the pots: Ensure the pots have drainage holes. Place a layer of gravel or small stones at the bottom to improve drainage.
- Planting: Fill the pots with soil, leaving a few centimeters of space at the top. Sow the seeds or plant the seedlings according to the instructions for each variety.
- Watering: Water immediately after planting. Afterward, water whenever the soil surface feels dry to the touch.
- Fertilizing: Apply organic fertilizer every 4–6 weeks to encourage plant growth.
Tips and precautions
- Drainage: Prevent water from pooling in the pots, as this can lead to root rot. If the soil remains damp for several days, reduce watering.
- Pruning: Regularly trim the herb leaves to encourage new growth. Don’t be afraid to use them! The more you prune them, the stronger they will grow!
- Pest control: If you notice aphids or other insects, you can spray the plants with a solution of water and natural soap.
- Winter care: If it gets very cold, move the pots to a more sheltered spot or cover them during the coldest nights.
Enjoy your little garden!
Once your garden is ready, you’ll find it easy and rewarding to have fresh herbs on hand. There’s nothing better than adding fresh basil to your pizza or a touch of mint to your cocktail, knowing you grew it yourself!
Get started today and enjoy nature on your balcony!
Your first step in Spain
Adapt your activity to the climate and the space you have in Spain. Consult a local nursery, association, or community center if you need guidance, and check the regulations for the municipality or natural area. Do not introduce new species, and do not collect animals or plants on your own. A small, easy-to-maintain project allows you to learn before taking on more equipment or responsibilities.
Original article: 2025-03-26. Edition adapted for Spain: 27 October 2026. Read the Greek original. Original author: Eleni Agiou.